When starting on expert 4×4 lift kit installation, think of it as carefully crafting a masterpiece – each component essential to the final product. But, before you start on this journey, imagine the satisfaction of conquering rugged terrains with ease and confidence, knowing that you've mastered the art of lift kit installation. So, what are the key considerations that will set you on the path to 4×4 greatness?
Key Takeaways
- Choose lift kit carefully for compatibility and adjustability.
- Conduct thorough pre-installation checks on suspension components.
- Utilize proper tools like torque wrenches and jack stands.
- Maintain post-installation by retorquing bolts and following manufacturer's guidelines.
Selecting the Right Lift Kit
When selecting the right lift kit for your 4×4 vehicle, it is important to carefully assess its compatibility with your specific make and model. Ensuring that the lift kit is designed to fit your vehicle is critical to avoid any installation complications. Researching the lift kit's height specifications is essential to meet your desired level of elevation. Different kits offer varying degrees of lift, so understanding your needs is key.
Evaluate the construction material of the lift kit to guarantee durability and best performance. Kits made from high-quality materials like steel or aluminum are generally more robust and reliable for off-road adventures. Look for lift kits that offer adjustability, allowing you to fine-tune your vehicle's height and alignment according to your preferences and driving conditions.
Seek recommendations from experienced 4×4 enthusiasts or professional installers to ensure you select a reliable lift kit. Their insights can guide you towards reputable brands and models known for their quality and performance on diverse terrains.
Pre-Installation Inspection Checklist
Before proceeding with the lift kit installation on your 4×4 vehicle, it is imperative to conduct a thorough pre-installation inspection to guarantee performance and safety. Start by inspecting suspension components for wear, damage, or corrosion. Check for proper torque on all existing bolts and fasteners. Measure the current vehicle height for comparison post-installation. Verify the alignment of wheels and tires to identify any pre-existing issues. Assess brake line lengths and driveshaft angles for potential adjustments during the installation process.
| Components | Inspection Checklist |
|---|---|
| Suspension | Check for wear, damage, corrosion |
| Steering | Verify alignment of wheels and tires |
| Control Arms | Inspect for proper torque |
| Sway Bar Links | Ensure no signs of wear or damage |
| Tie Rod Ends | Check for any play or looseness |
Essential Tools for Installation

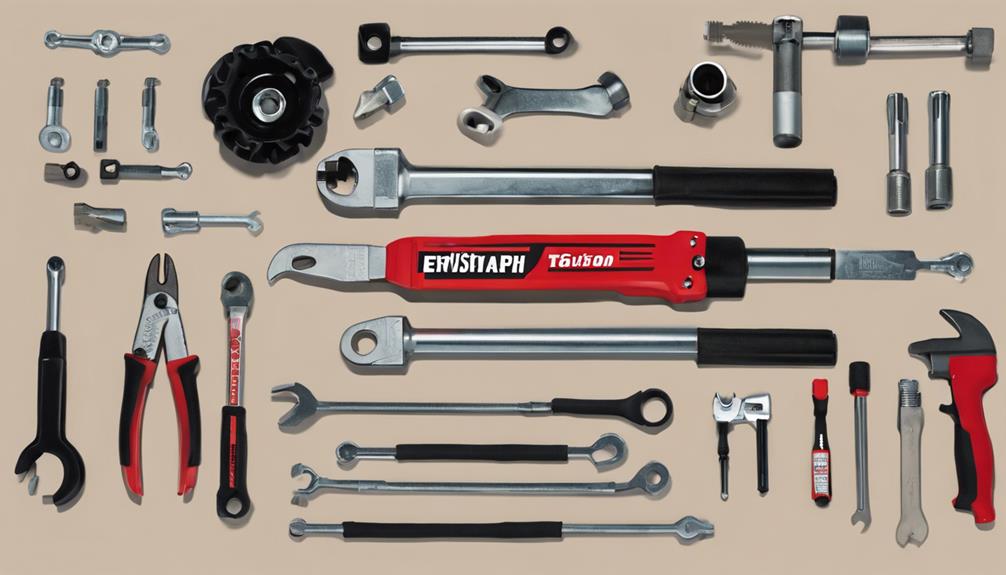
To guarantee a successful 4×4 lift kit installation, gather essential tools such as floor jacks, jack stands, torque wrenches, socket sets, and pry bars. Additionally, specialized tools like coil spring compressors, ball joint separators, and alignment tools are critical for specific tasks. Having the right tools at your disposal is essential for a smooth installation process. Here are the key tools you'll need:
- Floor Jacks: Lift your vehicle to the appropriate height for accessing suspension components easily.
- Torque Wrenches: Make sure that nuts and bolts are tightened to the manufacturer's specifications to prevent issues down the road.
- Socket Sets and Pry Bars: Help in removing and installing various components efficiently, reducing the risk of damage.
Using these tools correctly not only simplifies the installation but also reduces the chances of errors. Remember, investing in quality tools upfront can make a significant difference in the outcome of your lift kit installation.
Proper Lifting Techniques
For safe and efficient lifting of your vehicle during the installation process, make sure that jack stands rated for the vehicle's weight capacity are utilized. Position the jack under the vehicle's designated lift points to guarantee proper weight distribution and stability. Lift one side of the vehicle at a time to maintain balance and prevent tipping. Engage the parking brake and chock the wheels on the opposite side to prevent any unintended movement during the lifting process. It is vital to adhere to the manufacturer's guidelines for proper lifting techniques to avoid accidents or damage to the vehicle.
Following these important lifting techniques is essential when installing a lift kit to safeguard the safety of both yourself and the vehicle. By lifting the vehicle correctly, you can prevent damage to the steering and suspension components, which are essential for the vehicle's performance, especially when driving at high speeds. Proper lifting also helps in the successful installation of the lift kit components, allowing you to improve the off-road capabilities of your vehicle effectively. Remember to consult the specific lift kit manufacturers' instructions for the installing the lift kit to guarantee a smooth and safe process.
Post-Installation Maintenance Tips

Performing routine post-installation inspections is essential to guarantee the continued safety and excellent performance of your lifted vehicle. To make sure your 4×4 is in peak condition, follow these maintenance tips:
- Retorque Bolts: Regularly check and retorque all bolts to the manufacturer's specifications. Proper torque values prevent loosening and potential failure of critical components like suspension parts.
- Grease Serviceable Components: Refer to the suspension kit manual and grease serviceable components as instructed. This maintenance step prevents rust and corrosion, extending the lifespan of your lift kit components.
- Use Thread Locker: Secure bolts with thread lockers such as Loctite to prevent them from coming loose due to vibrations during off-road adventures. Additionally, mark bolts with paint for easy identification of any fasteners that may have loosened and require retightening.

No Responses